Article: Tags content
Tags are a helpful organizational tool for grouping your school and clinical site partners, rotations, and members, making it easier to manage reporting, communication, and rotations.
Creating and Managing Tags
This section will guide you through creating new tags and managing existing ones so that your organization stays organized and can track students efficiently.
Step 1: Access the Tags Page
From your home page, click "Tags" to view your organization's tags table.
Step 2: Create a New Tag
To create a new tag, click "+Create New."
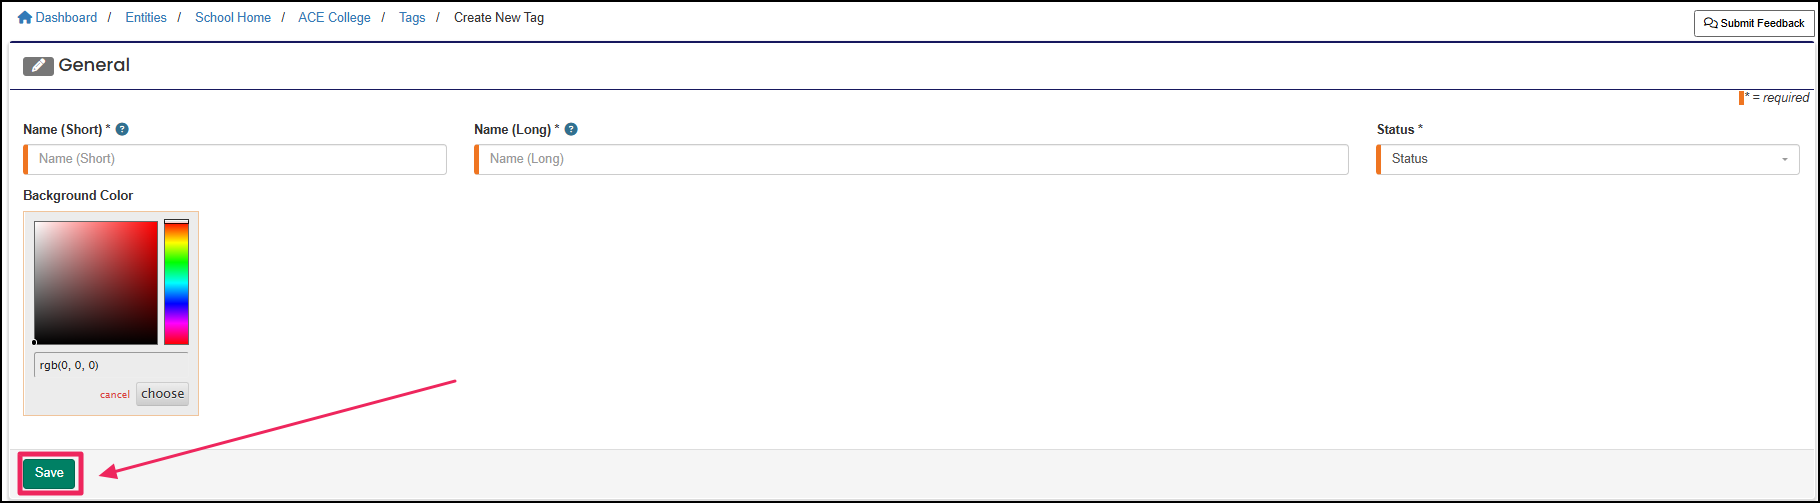
Step 3: Enter Tag Details
Enter the desired "Tag Name" (short and long), select a status, then click the "Save." Use the color selector to set a color on the tag.
NOTE: Make sure the status is set to Active to use the tag. When creating a new tag, the comma ( , ) and the vertical bar ( | ) are not allowed. Example: "Spring 2025" or "Clinical Group A."
Step 4: Edit an Existing Tag
To manage an existing tag, return to the tags table, then click the "Edit" (pencil) button.
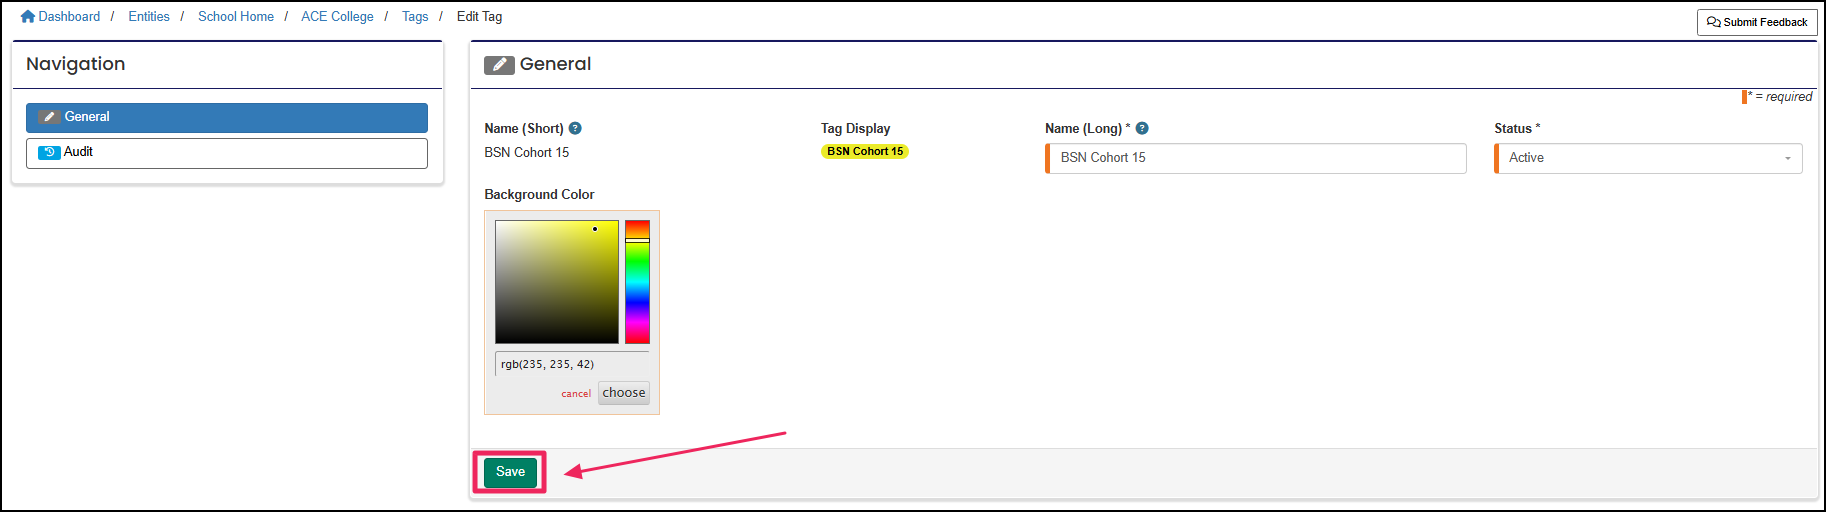
Step 5: Update and Save Changes
Edit the Tag Name and/or the Status (active or offline) to make your desired changes. Click "Save" to apply your changes to the tag.
Note: Only Active tags will appear in drop-down menus when tagging members
Adding/Removing Tags from Multiple Members
Use this method to apply tags to many members at once, which is useful for large groups or rotation cohorts.
Step 1: Navigate to Members
Once you create a tag, you may need to add or remove tags from users to help better organize your users in ACEMAPP.
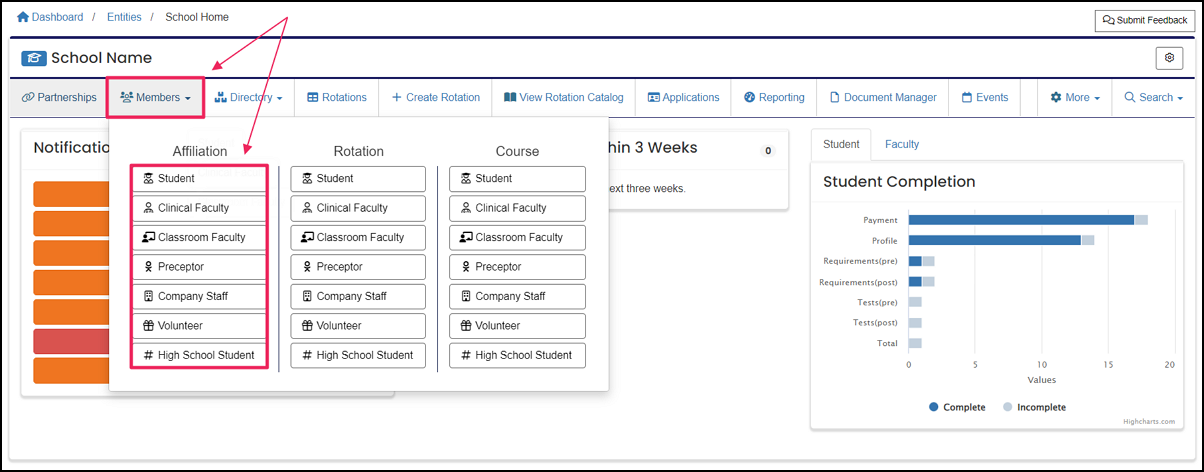
From your home page, click "Members" and select the "Student " (or any member type) button in the Affiliation column.
Step 2: Select Members
Select the student(s) you want to add a tag to by checking the box in front of their name, and choose "Select" and then "Tag Selected" from the drop-down menu. To tag all students at once, click the checkbox at the top of the column to "Select All", then apply the tag using the same drop-down menu.
Step 3: Apply or Remove Tags
Choose the tag you want to use from the drop-down menu and select "Add" or "Remove."
Step 4: Manage Tags
To create new tags or manage existing tags, simply click the "Manage" dropdown, then click "Manage Tags."
Note: Only users with tag management permissions can create or edit tags.
Adding/Removing Tags from Individual Members
Use this method to apply or remove a tag for a single member without affecting the rest of the group.
Step 1: Access the Tag Column
You can also add a tag to a student by clicking on the (+) symbol listed in the "Tags" column in the student's row.
Step 2: Assign or Remove the Tag
You can assign the designated tag by selecting "Yes" or "No" and clicking "Save."
Additional Suggestions for Users
Next Steps: After tagging members, you can filter the Members table or generate reports by tag to quickly see group information.
Troubleshooting: If you don’t see the Tags option or cannot edit, confirm you have the proper permissions.
A rotation is a scheduled clinical experience.
A rotation is a scheduled clinical experience.
An Affiliation is a connection between a Member and an Entity.
Affiliations define Member Types and often include Graduation or End Dates.
